
1. Login to your Joomla! website. If you are using RJ Web Builder from the URJ platform then you should have a component called “ZOO”.
2. Click on the component in the menu and you will see a screen like this:

3. Click on the small + tab to add a new application. The screen below will appear. Press the “blog” icon and create a new blog.

4. Name the blog anything you want.

5. Once you have created your new blog, which will house your new bulletin, it should appear as a new tab on your ZOO home page like below. You will not have any items yet. We will have to add them. In the case pictured below each item is a page of the bulletin.
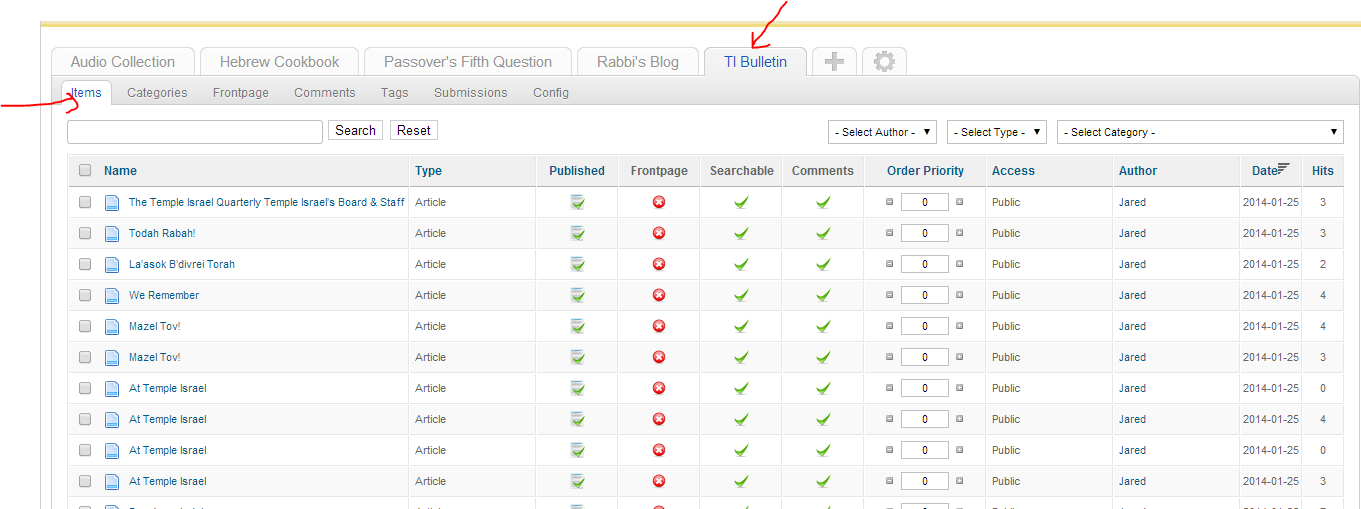
6. Next create a new category in your blog. Each category will serve as a bulletin. For every bulletin you create you will have one category. This way when you create an item/page for your bulliten it will be well organized. Below is a screen shot of the category page. You can put in the front page of your bulletin using the WYSWYG.

7. Add items to the category you just created. Remember each item is a page.
8. Once all your items are added you can create a new menu item to house your bulletin. Go to menus> the menu of your choice and add a new menu item. You should use the ZOO category menu item.
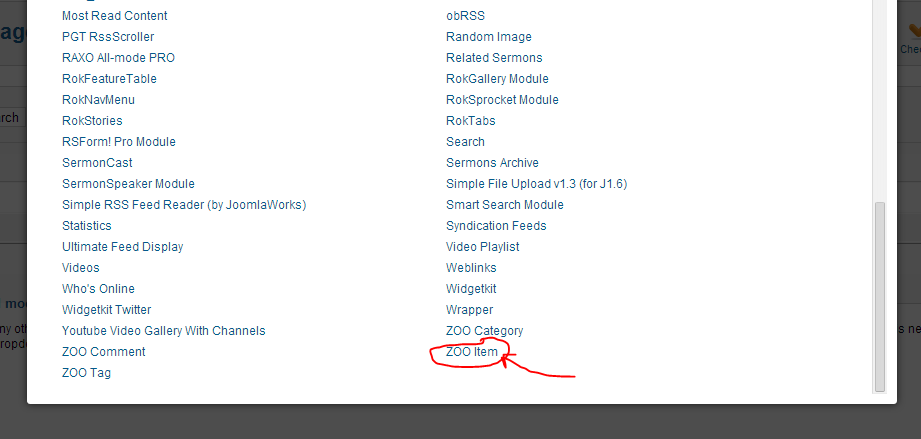
9. Once you have set up a menu item you can now add the Zoo item module which will show all items from your bulletin category. This will allow you to create at table of contents for your bulletin.
10. Send readers to your new bulletin!
I hope you have found this tutorial useful. If you have any problems feel free to comment below. If you want me create your online version of your bulletin for you please feel free to contact me.